viernes, 10 de abril de 2015

Tubelizar una rueda de forma casera con cinta americana

Comenzamos aquí la sección de bricolaje y de DIY de La Cabra Tira al Monte tubelizando una rueda que iba montada con cámara y fondo de llanta estándar, con varias ilustraciones de como debe hacerse.
 
Ingredientes:
  • 1 rueda (preferiblemente tubeless, en mi caso una DT Swiss XCR 1.5).
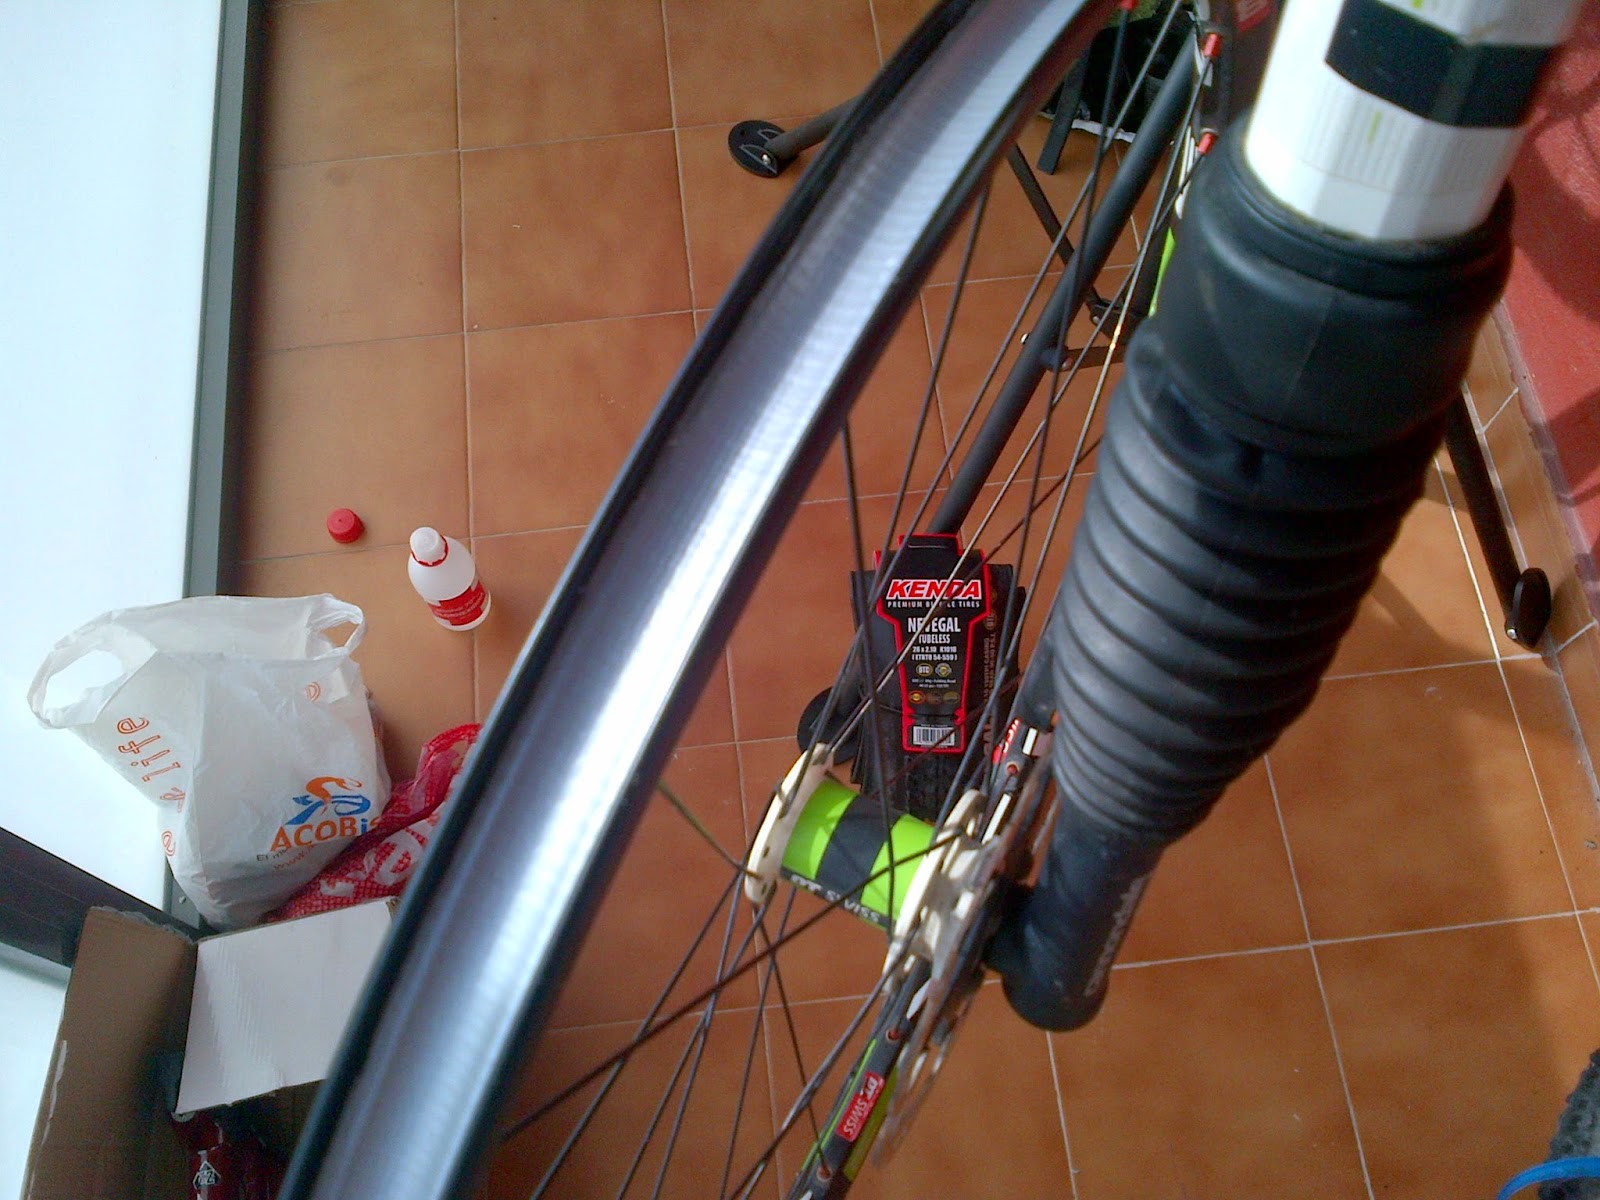
  • 1 cubierta (preferiblemente tubeless, en mi caso una Kenda Nevegal).
  • Cinta americana (que sea buena, osea, impermeable, con trama y que pegue bien, en mi caso he elegido una en el típico color gris de la marca Pattex).
  • 1 válvula tubeless con obús desmontable.
  • 1 llave desmonta obuses.
  • Líquido sellante (después de probar infructuosamente mis dotes de alquimista fabricando mi propio líquido casero, tarde unos meses en darme que cuenta que era una pérdida de tiempo y un sellado que no sellaba; ahora confío plenamente en el Stan´s No Tubes que me recomendó mi amigo Juan, y que realmente es increíble como tapona las rajitas y los pinchazos).
  • 1 jeringuilla sin aguja.
  • 1 metro o calibre para medir la anchura de la llanta.
  • 1 cuchillo que corte bien.
  • Bridas.
  • Alcohol.
  • 1 trapo.
  • 1 bomba de taller.
  • Agua.
  • Jabón.
  • Tiempo, paciencia y sobre todo ganas de hacerlo.
Como veis, no se necesita apenas nada para olvidarse del mundo del pinchazo, del parche y de la cámara e introducirse en el maravillo mundo del tubeless.

Pasos:

Lo primero que hay que hacer es desmontar la antigua cubierta, quitar la cámara y el fondo de llanta. Con la llanta al descubierto, procedemos a limpiarla por dentro (y ya que estamos por fuera) minuciosamente para que no quede rastro de suciedad. 

Del esmero de la limpieza, dependerá directamente el éxito de nuestra tubelización, así que merece la pena dejar la llanta inmaculada tanto en sus fondos como en sus laterales. 


Una vez limpia, medimos con un calibre o regla el interior de la llanta para saber el ancho de nuestro nuevo fondo de llanta casero adhesivo e impermeable.


Ahora tendremos que cortar la cinta americana a medida. Yo le he dado 1,5 mm más, ya que al estirar al pegar, se estrecha un pelín. (*BRICOTRUCO: Para cortar, mido la cinta y pongo unas bridas en la distancia deseada que me servirán para cortar recta la cinta con el cuchillo).


Con la cinta cortada a la medida, empezamos a pegarla con sumo cuidado en la llanta con el objetivo de tapar los agujeros de las cabezas de los radios para que no se escape el aire por ahí.

Yo le doy 2 vueltas completas a la rueda, empezando unos 2-3 radios antes del agujero de la válvula y terminando 2-3 radios después; es decir, en la válvula, llevará 3 capas de cinta y en el resto de la llanta 2.


Una vez terminado el precintado, con el mismo cuchillo que he cortado la cinta, hago una pequeña cruz (pequeña), por la que introduciré la válvula tubeless. Importante lo de "pequeña cruz", porque si la haces grande... el aire se escapará por ahí... una obviedad.... pero que por un descuido te puedes cargar todo el trabajo anterior.


Este sería el resultado con la válvula ya metida y el fondo de llanta colocado. Sólo nos quedará montar la cubierta, enjabonar con agua y jabón los flancos de la misma para que deslicen y encajen perfectamente con la uña de la llanta. Ahora ya, con mucho ritmo, fuerza, una buena bomba, y mucha coña y/o suerte divina, talonaréis la cubierta a la primera y podréis hincharla como yo.


Importantísimo si no queréis morir de un infarto!!!, es no exceder la presión máxima de la cubierta para que no explote. Me ha pasado en más de una ocasión y aún tiemblo del susto sólo de recordar la explosión. Explotar no es un modo de hablar, es una explosión pero de verdad.

Conforme hinchéis, se oye "clac" "clac" "clac" al ajustarse y meterse la cubierta en los flancos de la llanta. Si está bien lubricada con agua y jabón, se coloca bien. Yo para ésta, sólo he subido a 3,5 BAR. En la foto casi se aprecia como burbujea el jabón en los flancos al salir el aire al ir talonando.


Una vez ha talonado la cubierta, es el momento de introducir el líquido mágico y olvidarse de los pinchazos para siempre, (o al menos hasta que se seque el líquido o rajes la cubierta... jejeje).

Para ello se desinfla la cubierta con cuidado tratando de no destalonarla. Se desatornilla el obús y con una jeringuilla se introduce el líquido. Yo como estrenaba cubierta y fondo de llanta, he echado 70 ml para que selle todo bien, las posibles fugas en los flancos, en la válvula o hipotéticos poros.

Con el líquido dentro, montamos obús, volvemos a rezar para hinchar con la bomba de taller sin tener que recurrir a un compresor y evitar darnos un paseo hasta la gasolinera más cercana, y dejaremos la rueda con una presión alta, rondando el máximo permitido (repito: nunca pasarlo por grandísimo riesgo de explosión), para que selle todo bien.

Se pretende con una presión alta que el aire trate de escapar de la cubierta y el líquido sellante haga su función. Durante las primera 24 horas yo dejo la rueda hinchada a presión alta y de vez en cuando le doy unas vueltas y giros para distribuir el líquido por toda la superficie interior.

Cuando queráis salir a montar... es cuestión de comprobar que ha quedado todo sellado y bajar la presión a vuestros gustos y necesidades. Yo con unos 80 kg suelo ir en tubeless a unos 2,25 BAR aproximadamente, esto es, en el límite inferior recomendado por el fabricante.

Espero que os haya gustado este tutorial amiguitos!!!

Os doy abrazos y os deseo muchas rutas sin pinchazos para todos!!! ;-)

lunes, 6 de abril de 2015

TRAIL RUNNING LABEL

https://alpinrunning.org/TRAIL-RUNNING-LABEL/


TRAIL RUNNING LABEL

Rating by Distance, Elevation and Technical Difficulty
  1. DESCRIPTION OF TRAIL RUNNING:
 Trail running is a sport that involves running or walking in a outdoor environment on a natural terrain, taking advantage of the geographical features offered by each region (usually mountains, deserts, forests…) and following a logical path that allows us to discover the regiona. Trail running it encompasses very different practices, depending on where we run, the distance and the characteristics of each region.
(c) Ian Corless Troffeo KIMA                                                (c) Tanner Johnson Western States 100
  1. WHY TO MAKE A LABEL?
It’s important to know that Trail running is a sport played outdoors, in the nature. That implies a difficulty of classifying competitions as each race will have its peculiarities. We will never find an identical race to another and even the same race may well change from one edition to the next, as specificity and difficulty of the game is given because the mountain is a living being, that is changing and it is different at each place and at all times of the year.
Two races with the same elevation and distance can be very different from each other, either by the type of terrain, the climatic conditions or the conditions of the mountain at the time, or the different surfaces, such as snow, mud or a dry floor.
And although each mountain race, by elevation, weather, terrain, technicality, kilometers and more factors is almost impossible to establish a classification. Trail runners mostly think about physical capacities (“I can run 20km, 80km or 200km” or “I can make 4000m elevation…”) but rarely they think about the difficulty (“it demands some climbing, it demands to know how to put the feet, rocks, snow…”) the experience (“need to navigate out of trails, need to use and know to use extra gear to protect myself because is a storm, need to stay on the middle of a mountain for some hours waiting for a rescue….”) and the exposition (be injured here is difficult to evacuate, “if I fall from here I can die…”)
We think is very important all the trail runners to understand that Trail Running is not just about distance and elevation but about technical skills and experience. Our goal is not to make a classification of the races but make the runners understand the technical notion on races to be more safe and to don’t go where they have not the technical capacities.
We was thinking on a label of races on difficulty/exposition. As in mountaineering exist a system that can guide yourself if you’re experimented to do a route (PD, AD, D, MD, ED) and we design a label system for trails races, to don’t see in adapted people on technical trails and to have a prevention of what they will find.
  1. TRAIL RUNNING LABEL
The facts that differecncy every trail race can be grouped on 3 axes:
  1. Distance: kilometers of the race
  1. Elevation: ascent meters and downhill meters
  1. Technicality and Exposure: Exposure, altitude and technicality of the terrain. Considering the risk of injury or die, the technical skills to progress on every terrain, the self-reliance needed to be on safety by oneself.
  • DISTANCE:
 We can study the distance on a metric system (distance on kilometers) or on a physiological way on the duration of effort:
– Short: need of a strong contribution of the anaerobic metabolism (mainly lactic, but also alactic), the intensity is above and not lower than the anaerobic threshold. Maximum time: from few seconds to one hour.
– Medium: need of a mixture of aerobic and anaerobic metabolism, up, but not higher than the anaerobic threshold, or between the aerobic and the anaerobic thresholds. Time: between one hour and few (3-4) hours (we have to decide considering the aerobic power/time relationship).
– Long: need only the aerobic metabolism, always under the aerobic threshold. Time from 4 hours, but less than 16 hours.
– Ultra-long: mean intensity always under the aerobic threshold, but race long enough to reach a minimum level of sleep deprivation (that affects brain and cognitive functions). So, considering a mean of 8 hours of daily sleep, we can define “sleep deprivation” when the performance lasts more than 24-8=16 hours.
Examples:
LaveldistancetimeExamples
short1-15km20’- 1hVertical Kilometers, Mount Marathon, Tjon Dixence
middle20-42km2-4hDolomites SkyRace, Zegama, Ultraks, Sierre Zinal
long50-100km5-16h80 Chamonix, Transvulcania, The Rutt
ultramore than 100km> 16hUTMB, Hardrock 100, Diagonale des Fous
Stages racesmulty day raceTransalpine run, transrockies, 4 trails
  • ELEVATION 
We consider the elevation on meters or feet, taking the elevation gain in the case the race have the same drop on uphill and downhill, and specifying the uphill and downhill elevation on the case the race is A to B.
We can difference:
– Uphill race: only positive elevation: includes Vertical Km, Opp races, Pikes peak ascent
– Downhill race:       only negative elevation
– From A to B race: Start and finish line not at the same point, so different + and – elevation. Exemples:    WS100, Valmalenco Valspochiavo,
– loop race: Start and finish on the same point, so same + and – elevation: examples: UTMB, Zegama, KIMA…
  • TECHNICAL AND EXPOSITION
 Taking the example on mountaineering label for alpine routes (PD to ABO) we make a label on trail running races:
LevelTecnhical skillsExpositionExamples
Ieasy terrain, not need to use the hands. Clean trails, on outdoors or low mountain. no risk or small injuriesSierre Zinal, Western States
IIeasy terrain, not need to use the hands. Some rocky or mountain trail parts, need to have a “randonée” or low mountain knowledge.Risk of injuries and need to be self-relianced on low mountain (wait to be evacuate in case of accident, not get lost on non visibility,know to  follow trails, know about storms…)UTMB, Zermatt Ultraks, Giir di Mont, Zegama
IIIdificult terrain, rocks, snow, go out trails. Need to use the hands.  Need to have a middle – middle – high mountain knowledge.Risk to get injured or seriously injured. Need to be in autonomy in hard mountain conditions.Diagonale Des Fous, 80 Chamonix, Dolomites Skyrace, Hardrock 100, The Rutt
IVdificult terrain, steep rocks, hard snow, small scrambling and ropes use. high mountain knowledge. Use ofRisk to get injured or seriously injured. Need to be in autonomy in hard mountain conditions.Sentiero delle Grigne, Elbrus race
VDificult terrain, glacier, rock scrambling, up to III climbing grade. Need a high mountain knowledge. Use of crampons or technical gear.Risk to get seriously injured or die in case to fall. Need to have knowleges on hight mountain and be independent to make himself safe in all conditions.KIMA, Lenin race, els 2900, Tromso SkyRace
Other factors can influence on the T label:
– Distance on exposed terrain, the fatality in case of fall.
– A long way or difficult access to evacuate in case of DNF or accident.
– A low number of aid stations or controls, the needed of navigate and be autonomy during long periods on the mountains.
– the quality of the terrain, as lose rocks, ice snow…
– Weather conditions on the race spot, as average on the dates and area.
– Mountain knowledges are not just about the altitude: High mountain (glacier) can be at 1000m on Scandinavia, 3500m on the alps or 5000m on Himalayas or US.
Captura de pantalla 2015-04-02 a les 18.06.44
 Altitude:
Trail running is a mountain sport, Altitude should be considered starting from the classification proposed by Bartsch and accepted by the UIAA:
AltitudeFrom mTo mAMSlavel
LightSea level500Nono
Low5012000Usually nono
Medium20013000Possibleno
High30015500Possible/probablespecify “High altitude”
Extreme55018848Probablespecify “extreme altitude”
AMS: Acute Mountain Sickness Acute mountain sickness can progress to high altitude pulmonary edema (HAPE) or high altitude cerebral edema (HACE), which are potentially fatal.
Also in high altitude the recovery time it decreases, the decisions taken is less lucid and we have less precision on the movements.
  1. CONCLUSIONS
The organizers must be the ones who decide the label of the race, in function of the technical and exposed facts of the track. And communicate for the safety of the athletes, and don’t overestimate the difficulty to don’t make the athletes confused on other races more technical.
The athletes must understand which are their technical capacities and experience to take part on a more or less technical race. And to train and improve this capacities on training before taking part on a more technical race (without counting the distance and elevation facts)
Federations must control that the races under his calendar are well labeled. A over-label can make misunderstanding and confusion and affect the safety of the racers.
The situation today:
Alpinism and Athletics are on the schema to situate the label and other disciplines.
Captura de pantalla 2015-04-02 a les 18.07.00Alpinism / Alpinrunning: a global sport, not on Trail running label, label used is the UIAA (PD,AD,D,TD,ED)
Trail Running: a global sport, running on the outdoors on natural terrain.
Inside we can find some disciplines:
Skyrunning: On technical trails, altitude and hight mountains. from level I to V
Fellrunning: On technical trails, normally off trails on rocky and grass terrain, specific from UK. From level I to V
Vertical Kilometer: A Only uphill race. the technicality can be from I to V.
Mountain running: On easy trails on outdoors. Level I of technically.
Urban Trail / City Trail: On urban spaces, on artificial terrain, with elevation and artificial obstacles. Level I of technicality.
Athletics: a global sport, running on the outdoors or indoors on artificial terrain. Only Cross country is on natural terrain. Technical label will be 0.

———
 Kilian Jornet Burgada, Thanks to the collaboration of:
Giulio Sergio Roi, Doctor specialized in altitude and mountaineering
Fabio Menino, Journalist, sport analist
Marino Giacometti, ISF president
Carlos García Prieto, ITRA secretary
Joe Grant, Runner and representant of trail running athletes commission, 
Christophe Boloyan, Directeur de la Chamoniarde